


Facebook has announced a number of new features at F8 conference in San Francisco. The most important new feature it has introduced is the ‘Facebook Timeline‘ which is basically a scrapbook of a user. The Facebook Timeline allows the user to check out everything that has ever happened in his/her entire Facebook lifespan.
Remember that this new feature is not yet public and is only available to developers. The feature will go live on September 29, 2011 on its own.
If curiosity is killing you and you are an impatient person then here are the few necessary steps that will allow you to enable this awesome new feature right now:
Step 1:
Log into your Facebook account and click on this developer link.
Step 2:
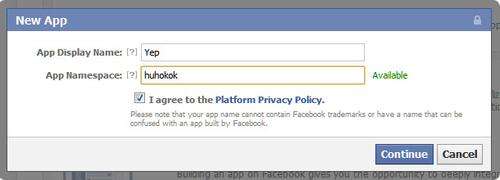
Allow if a pop up appears then create a new app (don’t worry at all it will not be visible to anyone) and give it any name you like and enter any namespace. Tick the check box and click continue.
Step 3:
A new window will appear. Look on the left hand side and click on “Open Graph” then click on “Get Started with Open Graph”. Fill in the tabs whatever you want then click on get started.

Step 4:
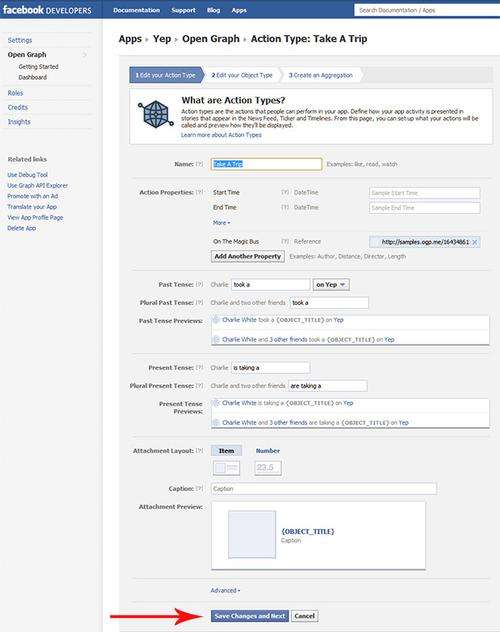
Next you will be redirected to some setting pages (shown below), do nothing except scrolling down and clicking on ”Save Changes and Next”.
Step 5:
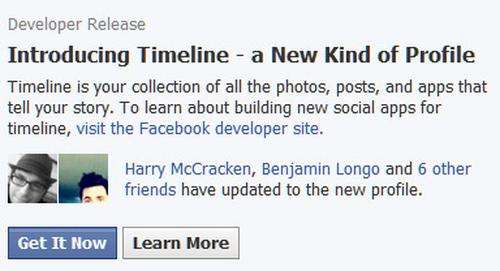
Soon after the above mentioned step an invite to try Timeline would appear at the top of your homescreen (shown below):
Step 6:
Bravo you have enabled your Facebook Timeline. Edit it as the way you want it to be.
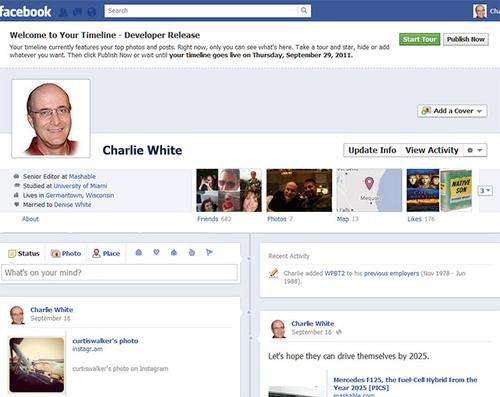
Enjoy!

0 comments:
Post a Comment